

The Lowdown on Bias Binding Top Rated Sewing Machines
Articles About Best Rated Sewing Machines
Individuals who aren’t acquainted with the methods of clothing design look at bias tapes as merely pieces of material that designers attach along the external edges of garments so it can have a completed appearance. Having said that, there is more to the creation of bias binding than it would seem.
For one thing, just any strip of fabric won’t do. It has to be cut 45 degrees from the fabric’s fiber grain or else it won’t have the flexibility to do the job. Since bias tapes need to hug theedges they will be binding perfectly, without any ripples or wrinkles, it has to have elasticity to curve its way around arm, leg holes and hems. There are many ways to cut fabric needed for bias tapes and each tailor, designer and seamstress has their own preference and technique. While the process is easy to learn, mastering it is difficult and finding a technique you’re comfortable with takes time and experience.
The thing that makes bias tapes distinct from regular pieces of material is the creases it has. Bias tapes are flattened towards the middle so that the edges are neat and well secured. Producing a solitary crease on both edges of the material is known as single fold bias and it is regarded as the basic method of creating bias tapes.
Nevertheless, an increasing number of items of clothing now show the double fold bias, which basically signifies that the unfolded edge of the original crease is flattened in once more to secure the edge. The main reason for the expanding acceptance of this kind of bias fold is the fact that an increasing number of designers are making use of machines to create their bias tapes rather than producing their bias tapes manually. 
Bias tapes are an essential component of clothing design. Bias tapes function as both the backbone and framework of not just clothes, but additionally totes and scarves created from cloth. Devoid of bias tapes, clothing would appear uneven and also would be lacking any style and creative subtleties.
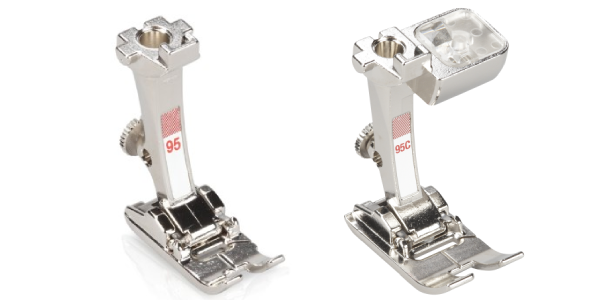
Stacy Wallace loves to teach individuals how to sew. She uses the Simplicity Deluxe Bias Tape Maker to produce her bias tape and writes about sewing.


 Usually, the word ‘stencil’ brings to mind lettering stencils and scrapbooking but that is not its only application. In the realm of quilting, a stencil can be used to trace a design on a quilting material before quilting. These stencils have grooves forming patterns that show where the fabric must be sewn. While freestyle quilting is simple, stenciled designs are more elaborate an serve as a great way to easily take quilting to the next level. Stencils can be used to fill negative space, create a complex border, add focal pieces or even cover the entire quilt with design. After the patterns are traced, they are stitched to form depressions by hand or using the quilting needle in a sewing machine.